May 22, 2018 / photography Uncategorized
Light It Up - Capturing Lightning Photos in Goshen County
 Lightning and thunderstorms can provide for some dynamic and fun landscape images. A lightning photo I posted on my Facebook page a few weeks ago led to lots of questions from everyday photographers looking for tips on how to capture great lightning photos. I compiled my answers into this brief tutorial! Enjoy these Tuesday Tips!
#1 – Safety First
It probably goes without saying that lightning storms can be dangerous. But I’ll say it anyway. Make sure you are in a safe location out of danger. I like shoot as the storm is moving away from my location or parallel to my location. This gives me a few advantages, first being that I am not outside trying to shoot photos in the middle of a thunderstorm. Find good cover and But no shot is worth your life. Know when and where is a safe location to shoot from.
#2 – Get a tripod
Lightning shots often require a longer shutter speed, so you’ll need to stabilize your camera. Putting the camera on a tripod will give you sharper images. I have a Manfrotto tripod my husband bought for his spotting scope that I comandeered for my photography. It doesn’t have to be expensive, but it should hold your camera and lens securely and withstand some wind.
If you don’t have a tripod, a flat surface and some small bean bags will work. Anything you can rest your camera on that will keep it steady. I’ve set my camera on the ground and snugged a coat around it before. Use what you have!
#3 – Go Manual
For awesome lightning shots, you’ll need to take your camera off of it’s automatic settings. Put your camera in manual mode so that you have full control over how it records the scene.
Now the Fun Begins
Find a spot that is safe and a fair bit away from artificial light, but that also gives you a good view of the storm. Frame your shot how you would like. You get to decide if you prefer to be in tight with a telephoto to just capture lightning or to use a wider angle and make it a more environmental/landscape scene. Put your camera on the tripod and begin!
If you’re like me, you started out capturing lightning photos by trying to time pressing the shutter with the lightning strikes. Occasionally, you’ll get lucky. But most of the time, I just wound up with black frames and no lightning. That’s where understanding camera settings comes into play.
Instead of luck, put your camera to work! You can use a long exposure time to leave the camera shutter open from anywhere from 3 to 30 seconds. This allows the camera recording the scene BEFORE the lightning strikes, ensuring you don’t miss it. This will also let the camera record multiple strikes in the same frame or capture sky lightning at the same time. Long exposure also helps create light trails from passing cars.
- Set Your ISO. First, you’ll want to set your exposure, that is, some combination of ISO, aperture and shutter speed that exposes the image in the way you want it to look. I like to start with an ISO of 100, which is the base setting for my camera. If I need to, I will adjust up from there. A lower ISO keeps the noise, or graininess, in your image to a minimum.
- Next, choose your aperture. You’ll have to decide how much of your scene you want in focus from front to back, meaning what kind of depth of field are you going for. I generally start with an aperture of f/8 and adjust up or down from there.
- Now set your shutter speed. How long your shutter speed should be depends on the conditions and how you like your photos to look. I usually start at 3 seconds if I’m shooting at twilight, 15 seconds if the sun has set. Then I’ll adjust from there until I get an exposure that I like. It’s really a matter of preference and takes some experimenting. You can’t rely on your camera’s onboard light meter because it will try to make everything practically daylight bright. So I start at the above settings and adjust to let in more or less light.
- Finally, set your focus to a point somewhere in the distance. This is probably the hardest part of dialing in your settings. I could write a whole series on how not to focus your lens at night, I’ve missed focus so much. But for a great primer on focusing at night, check this out from Lonelyspeck.com.
Once you get your settings dialed in, start shooting! I will generally take one shot right after the other so I don’t miss any action. Again, I’m letting the camera do the work for me, instead of trying to time it just right. If your settings are dialed in, it’s just a matter of letting Mother Nature do her thing!
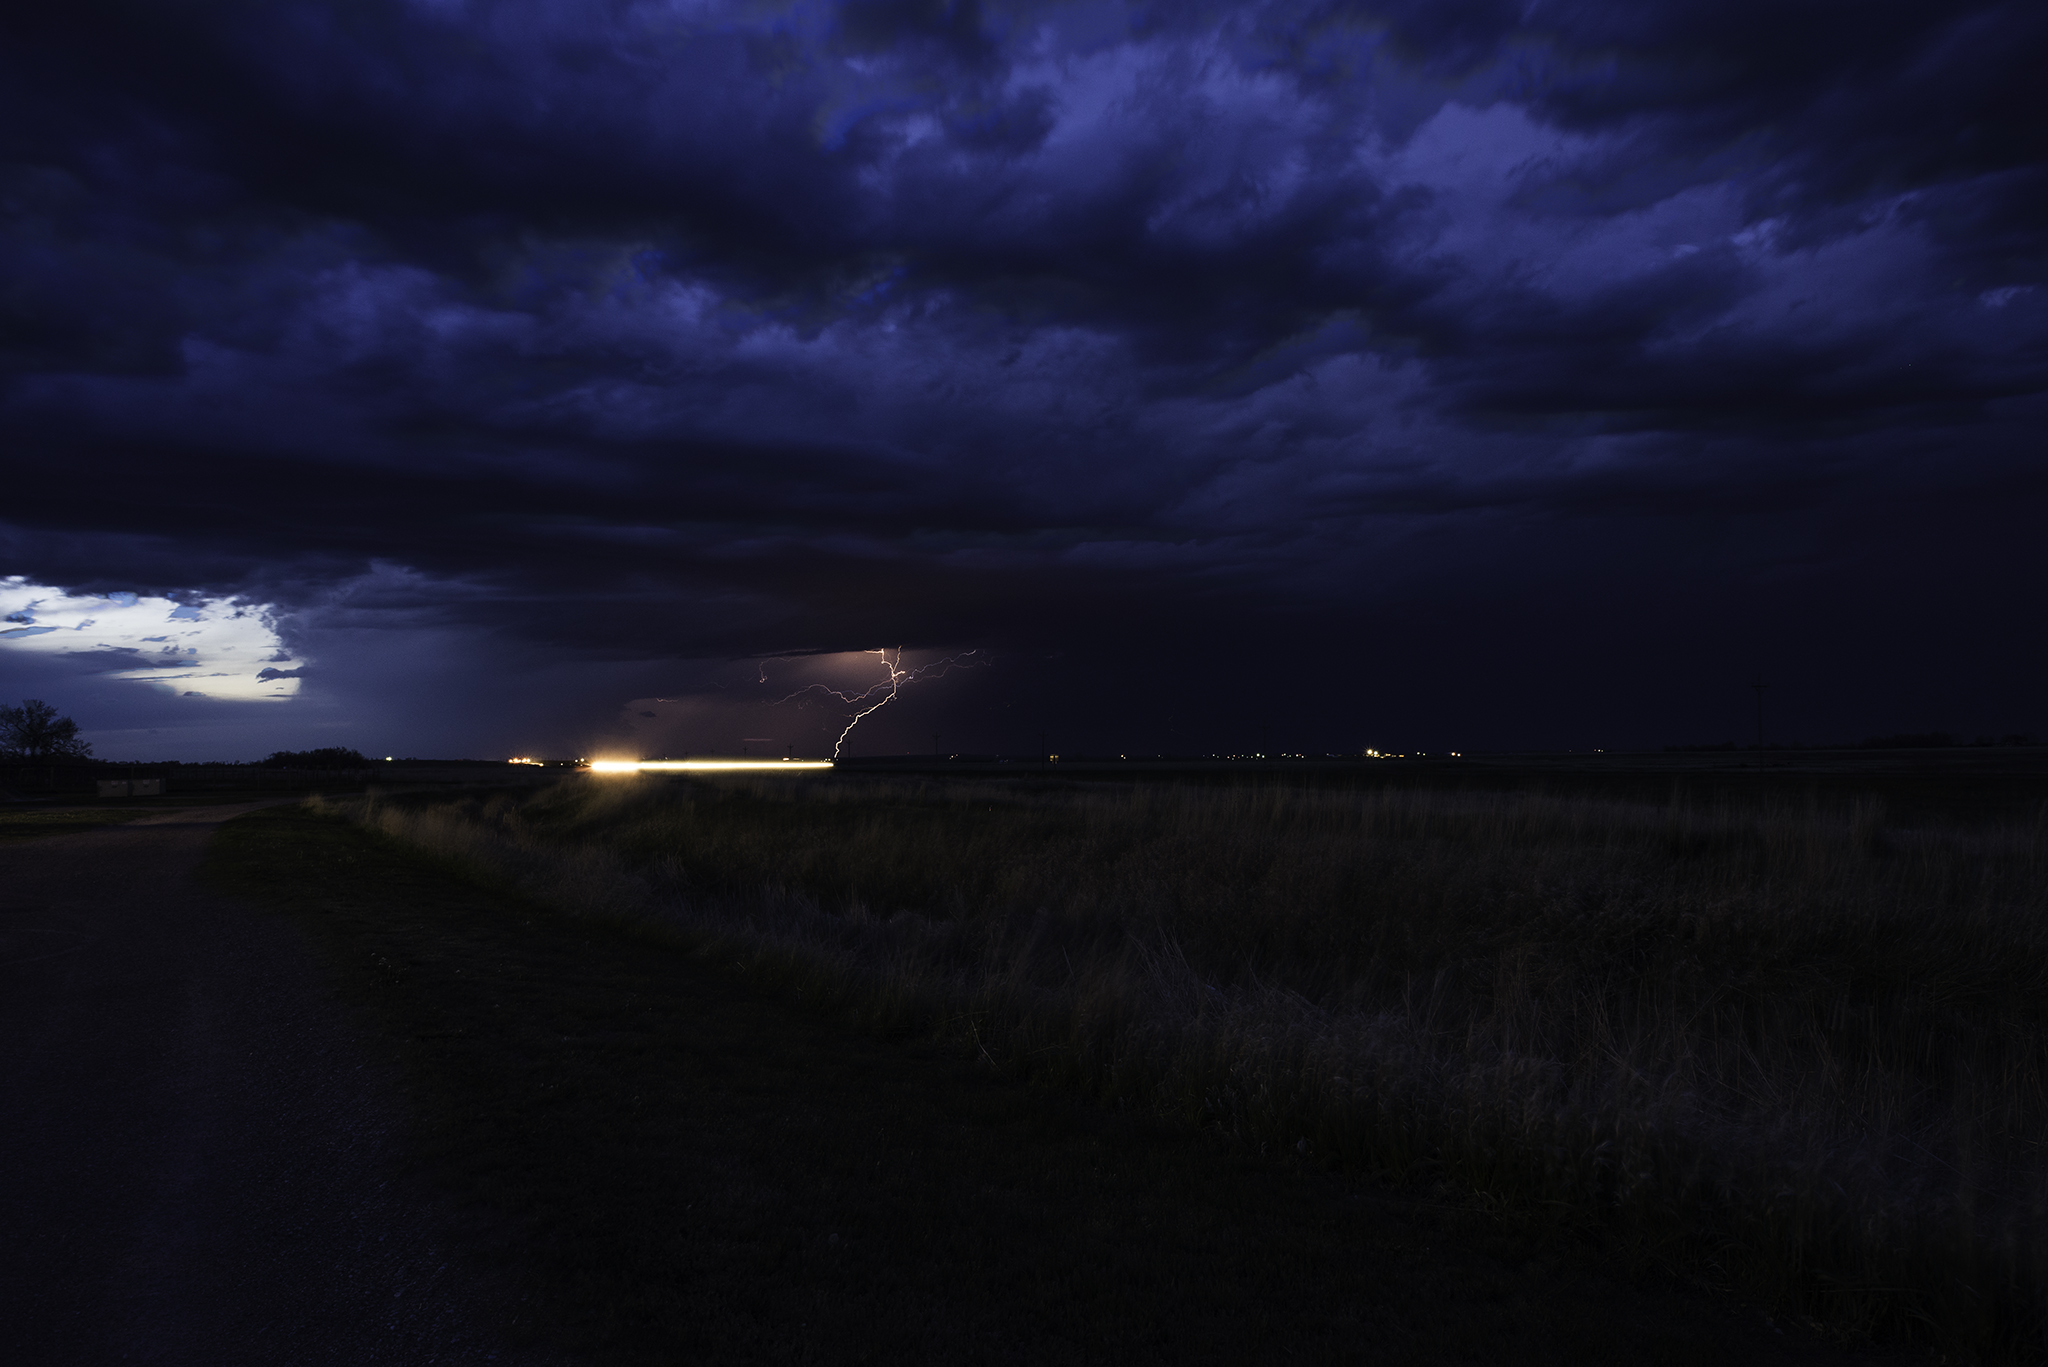
The above photo was shot with a Nikon D750 and a 24mm f/2.8 lens. The settings were ISO 400, f/14 and 25 seconds. I used a tripod and a remote to trigger the shutter. This was take between Yoder and Hawk Springs, Wyoming, looking north toward a storm over Torrington, Wyoming.
Good luck, stay safe and happy shooting!
–Teresa